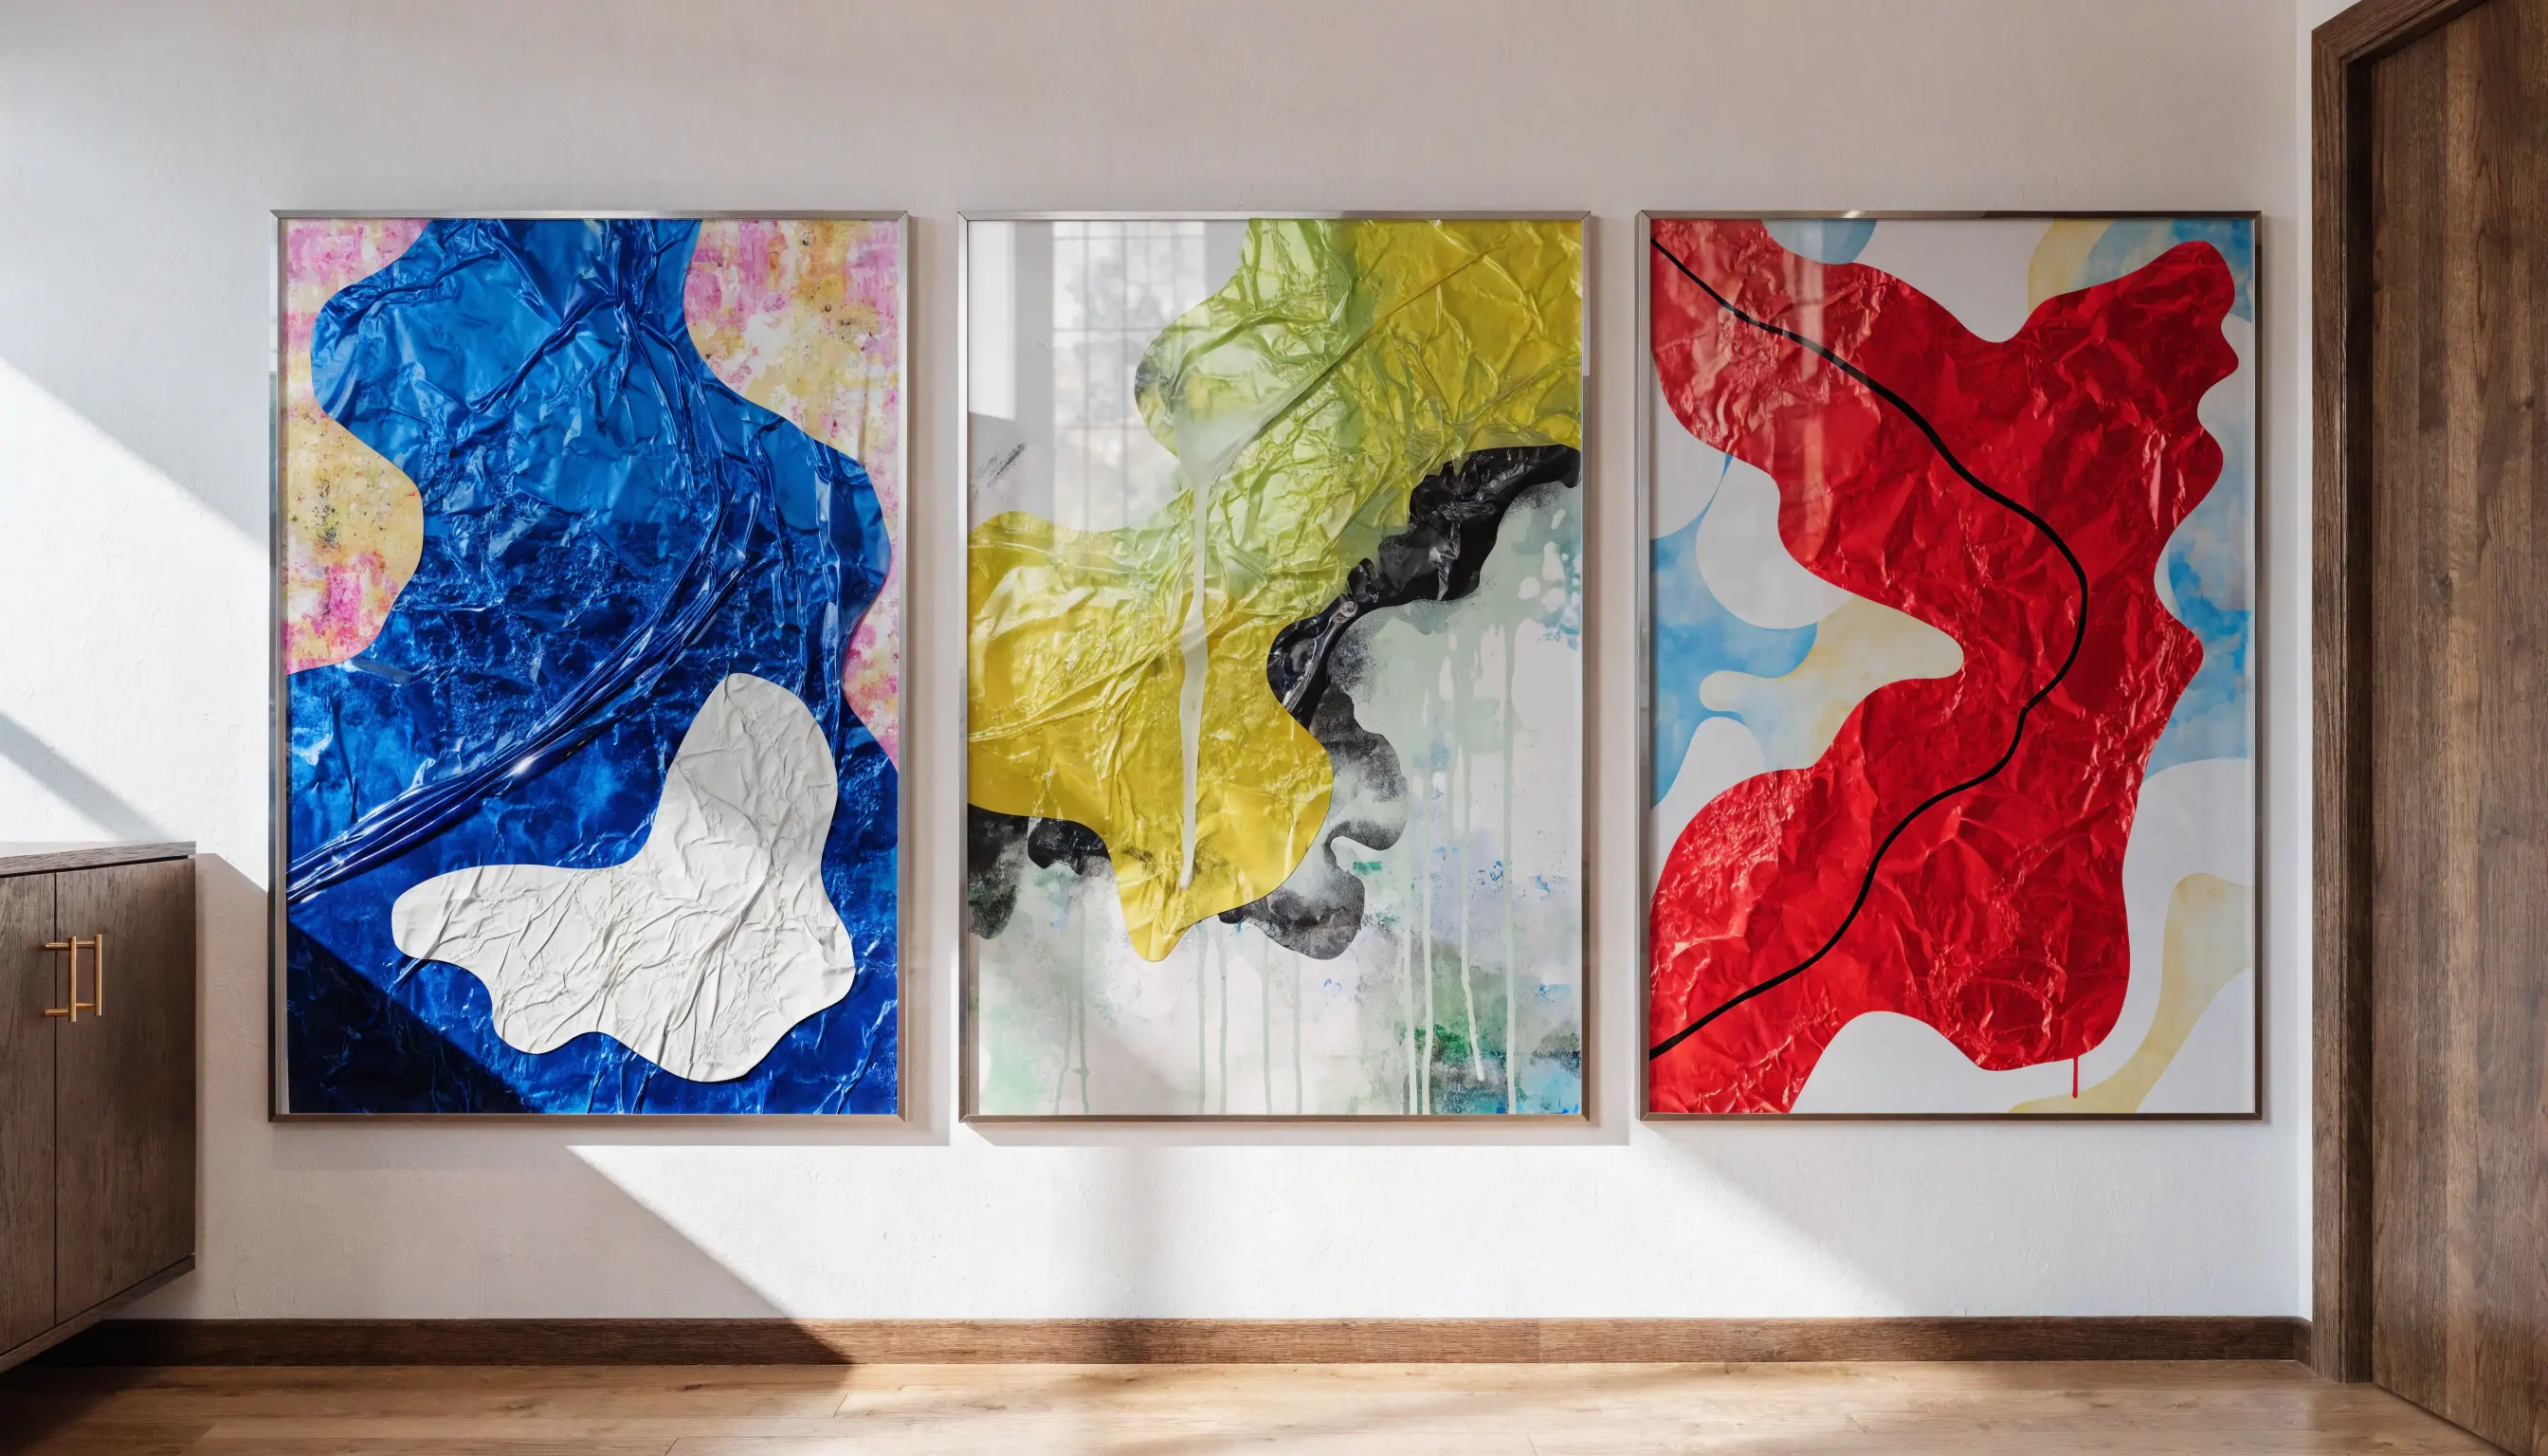
The visual decisions that make something look good on a phone screen (low resolution, tight crop, high contrast for small display) don't look so great at 24x36 inches on a wall. Most people discover this the hard way, after a print run they cannot get back.
This guide covers the full workflow in Recraft Studio: writing a brief that actually produces what you want, choosing the right model for print-quality output, editing to spec, and exporting a file your print shop will not complain about.
1. Start with a real brief, not a vague request
The brief is the most important part of poster creation. A weak brief produces a competent-looking result that does not belong to anyone. A specific brief produces something that could hang in a gallery or anchor a campaign.
When writing your prompt, include:
- Subject and framing. Who or what is in the poster, and how is it composed? "A woman in a red coat, shot from behind, standing at a city overlook at dusk" is a brief. "Cool editorial portrait" is not.
- Visual reference. Name the aesthetic directly: the palette of a late-70s Soviet film poster, the typography weight of a Saul Bass title card, the grain and saturation of a vintage Fillmore concert print. Recraft reads those references.
- Color system. Dominant color, accent, and background. Do not leave this open if you have a brand or a mood to hit.
- Text hierarchy. If the poster carries copy (headline, event details, credits), describe the layout before you generate. Text placement is far easier to define in the brief than to fix in post.
- Format and intent. A poster for Instagram stories is a different spec from a 24x36 outdoor print. Tell the model what this is for.
If you love the design and want to save it for later so you can create a whole collection of matching posters, you can create a style.
2. Use Pro models for large-scale printing
This is the part that matters if the poster is going to print.
Recraft V4.1 Pro is built for production use. It generates at resolutions suitable for large format printing, where standard AI-generated imagery breaks down fast. If your output is going on a wall, into a print-on-demand workflow, or into a presentation that will be projected at size, you need a model that can hold detail at scale. V4.1 Pro does.
Standard outputs from most AI image generators are built for screens. They look fine at 72 dpi on a monitor, but not at the 300 dpi that your print vendor requires. Recraft V4.1 Pro outputs at high resolution with detail that holds across the full poster surface, from edge bleed to center type.
In Recraft Studio, select V4.1 Pro in the model picker before generating. If you are iterating through multiple directions before committing to a print file, you can explore with the standard model and switch to V4.1 Pro for your final generation. It saves on generation time during early exploration, and you get the quality where it counts.
3. Edit with the design in mind
A first generation is a starting point, not a final file. In Recraft Studio, you can:
- Adjust colors and palette. Use the color controls to shift the dominant hue, desaturate, or lock specific tones. If the poster needs to match a brand palette exactly, use the hex input.
- Refine composition. Use inpainting to rework specific regions of the image without regenerating the whole piece. If the background is right but the subject needs repositioning, inpaint just that area.
- Edit or add text. Recraft handles typographic elements within the image, but for precise type control, export the base illustration and add final text in your layout software (Figma, Illustrator, or InDesign). This gives you editable type that can be kerned and scaled without pixel degradation.
- Iterate on style. If the first output is directionally right but tonally off, adjust the style parameters and regenerate. Recraft's style controls let you shift between photorealistic, illustrated, flat graphic, and painterly without rewriting the prompt.
Do not skip this step in a rush to export. A poster that ships with uncorrected color or a weak composition is a poster that does not do its job.
4. Export for print
Recraft Studio exports in formats your print workflow can actually use.
For large format printing (banners, posters, exhibition prints): export as a high-resolution PNG or TIFF. Set your dimensions to at least 300 dpi at final print size. For a standard 24x36 inch poster, that is 7,200x10,800 pixels minimum.
For digital poster use (web, social, presentation): PNG at 72 dpi is sufficient. Keep the file at native resolution and downsample only at the final stage.
For vector elements (logos, borders, graphic shapes within the composition): Recraft can export SVG for vector layers. If your poster has geometric or typographic elements that need to scale infinitely, export those as separate vector assets and composite them in layout software.
A workflow summary
Here is the full process, start to finish:
- Write a detailed brief. Subject, framing, palette, aesthetic reference, text hierarchy, and intended format.
- Generate with V4.1 Pro for final output. Explore with the standard model if you want to iterate quickly, and switch to V4.1 Pro before your final generation.
- Edit in Recraft Studio. Refine color, composition, and style. Use inpainting for targeted corrections.
- Export at print resolution. PNG or TIFF at 300 dpi minimum, with bleed.
AI poster design works when the creative control stays with you. The brief is yours. The palette decisions are yours. The model does the generation, but you do the directing. That is the distinction between AI-generated work that looks like anyone could have made it and work that looks like it came from a specific creative vision.
Start creating in Recraft Studio
.svg)